How to Take a Screenshot - Step-by-step Guide
Once in a while, you may need to save a picture or piece of information to reference later, share with someone or add to an informative article like this one. One of the easiest ways to do this is taking a screenshot.
October 03, 2023 00:12
In today's digital age, capturing moments, content, and data swiftly is paramount. One of the most fundamental tools at our disposal for such a task is the screenshot. Here, we shall delve into the multifaceted world of taking screenshots.
This comprehensive guide will detail methods across various platforms and devices, ensuring you can capture anything on your screen with ease.
Understanding Screenshots: A Quick Rundown
Screenshots, also known as screen captures, are images taken directly from the content displayed on your screen. These images can be saved, shared, and used for various purposes including demonstrations, tutorials, and records.
1. Taking Screenshots on Windows
a. Using the Snipping Tool
The Snipping Tool is an integrated application on most Windows computers:
1. Navigate to the Start menu.
2. In the search box, type “Snipping Tool”.
3. Open the application.
4. Click on “New”.
5. Drag your cursor over the area you want to capture.
b. Shortcut Keys
1. Print Screen (PrtScn): By simply pressing this key, the entire screen's image is copied to your clipboard. You can then paste (Ctrl + V) this image into any application.
2. Alt + PrtScn: This combination captures only the active window.
3. Windows Key + Shift + S: Allows you to select a specific area of your screen.
2. Taking Screenshots on Mac
a. Entire Screen
Pressing Command + Shift + 3 will capture the entire screen. The screenshot is saved to your desktop by default.
b. Specific Portion of Screen
For a more focused capture, press Command + Shift + 4. Drag to select the area you want to capture.
3. Taking Screenshots on Android Devices
a. Standard Method for Most Devices
Press the Power button + Volume Down button simultaneously for about two seconds. The captured image is typically saved in the Photos or Gallery app.
b. Palm Swipe Feature (For Some Samsung Devices)
Enable the feature in settings:
1. Navigate to Settings > Advanced Features.
2. Toggle on “Palm swipe to capture”.
3. Swipe the edge of your hand horizontally across your screen.
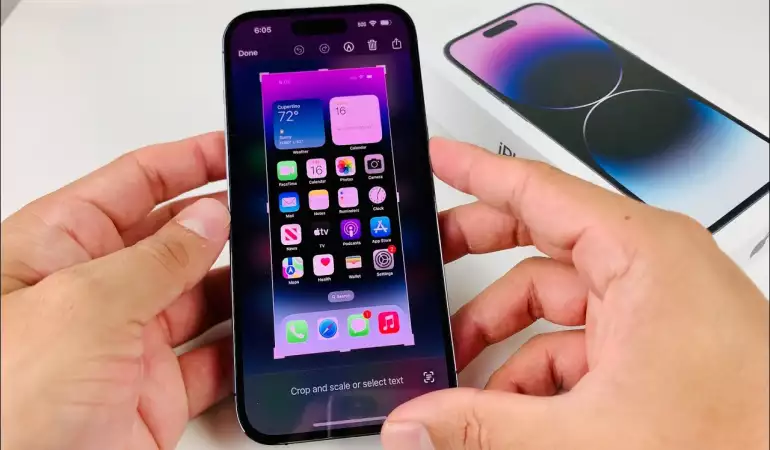
4. Taking Screenshots on iOS Devices
a. iPhones with Face ID
Press the Side button + Volume Up button simultaneously.
b. iPhones with Home Button
Press the Home button + Top (or Side) button simultaneously.
5. Capturing Screenshots on Web Browsers
Many web browsers, like Google Chrome and Firefox, offer extensions that allow users to take, edit, and save screenshots of entire web pages, beyond what's visible on the screen.
a. Chrome: Extensions like 'Awesome Screenshot' and 'Lightshot' can be added via the Chrome Web Store.
b. Firefox: Use the in-built tool by right-clicking on a page and selecting “Take a Screenshot”, or explore extensions in the Firefox Add-ons site.
6. Tips to Enhance Screenshot Quality
1. Ensure your screen's brightness and contrast settings are optimal.
2. Close unnecessary applications and tabs to reduce clutter.
3. If taking a screenshot of a website, consider zooming in to ensure text clarity.
4. Use editing tools to highlight, annotate, or crop the essential parts of your screenshot.
Conclusion
Taking screenshots is an indispensable skill in today's tech-driven world. Whether you're using Windows, Mac, Android, or iOS, there's a method tailored for every device. With this guide at your fingertips, you're equipped to capture content with precision and ease. Screenshots not only help in preserving visual data but also play a vital role in communication, documentation, and content creation.


